Build > Reference > app_settings.json > .transitions : Death Reporting
Sentinel Transitions: functions executed when database documents change
Build death report workflows
In this section you will learn how to set up a death report workflow. This includes laying out a death report form as well as handling all the configurations needed for wiring it up in the CHT. By the end of the tutorial you should be able to:
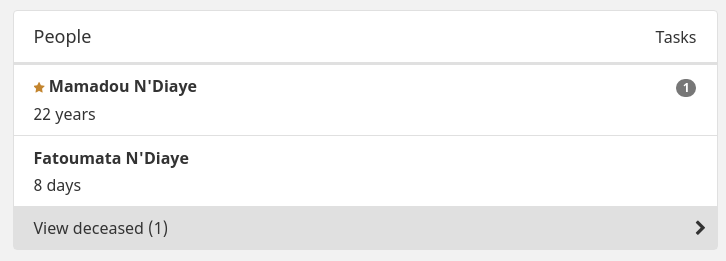
When a contact is marked as deceased within the CHT, the contact will be hidden by default on the contacts tab.

You will need to:
Create a new app form with your desired experience for reporting a death. Or you can use the death_report.xlsx and death_report.properties.json files from this reference application.
It is common to want to know the date of death, place of death, or cause of death when reporting a death. If you want to ask date of the contact’s death, use a field of type date. This information will be used again in step 3.
It doesn’t make sense to have “places” in your hierarchy that can be deceased. It also doesn’t make sense for somebody who is dead to die again. But can the administration of a health facility die? That is for you to decide.
This snippet is an example form properties file which constrains the death form to show only for contacts which:
{
	"context":  {
		"expression":  "!contact.date_of_death && user.parent.contact_type === 'family'",
		"person":  true,
		"place":  false
	},
	"icon":  "icon-death-general",
	"title":  [
		{
			"locale":  "en",
			"content":  "Report death"
		}
	]
}death_reporting Transition
The death_reporting transition will process your death report and update the deceased contact document by adding a date_of_death attribute to the document.
To enable death reporting:
"transitions": {
    ...,
    "death_reporting": true
 },
"death_reporting": {
    "mark_deceased_forms": [
      "death_report"
    ],
    "date_field": "fields.date_of_death"
 }
The date_field is optional. If a date of death is not provided, the date of the death report will be used. If your form has a field of type date asking for the date of the contact’s death, use a path to that field in date_field.
date_field in Step 3, confirm that the date_of_death attribute on the deceased contact matches the selected date in the death report.If a contact is dead, you may want to disable the majority of tasks for that contact. You will need to update each of your task’s definitions.
{
  appliesIf: (contact) => !contact.contact.date_of_death && myLogic,
  ...
}You typically don’t want users doing actions like “health assessment” for deceased contacts. You can achieve this by updating your other app form’s properties.json files to only display for alive contacts.
{
	"context":  {
		"expression":  "!contact.date_of_death && myLogic",
    ...
	},
}On your contact page you may want to add a condition card to display the date of the patient’s death.
const cards = [
  {
    label: 'contact.profile.death.title',
    appliesToType: 'person',
    appliesIf: () => contact && contact.date_of_date,
    fields: () => ([
      {
        label: 'contact.profile.death.date',
        value: contact.date_of_death,
        filter: 'simpleDate',
        translate: false,
        width: 6
      }
    ]),
  }
];Should your targets count deceased contacts in the denominator? This change is left as an exercise for the reader.
To undo a death report, you’ll need to create a new app form to undo the death report. Add it to undo_deceased_forms (similar to mark_deceased_forms) in app_settings step 3 above.
Sentinel Transitions: functions executed when database documents change